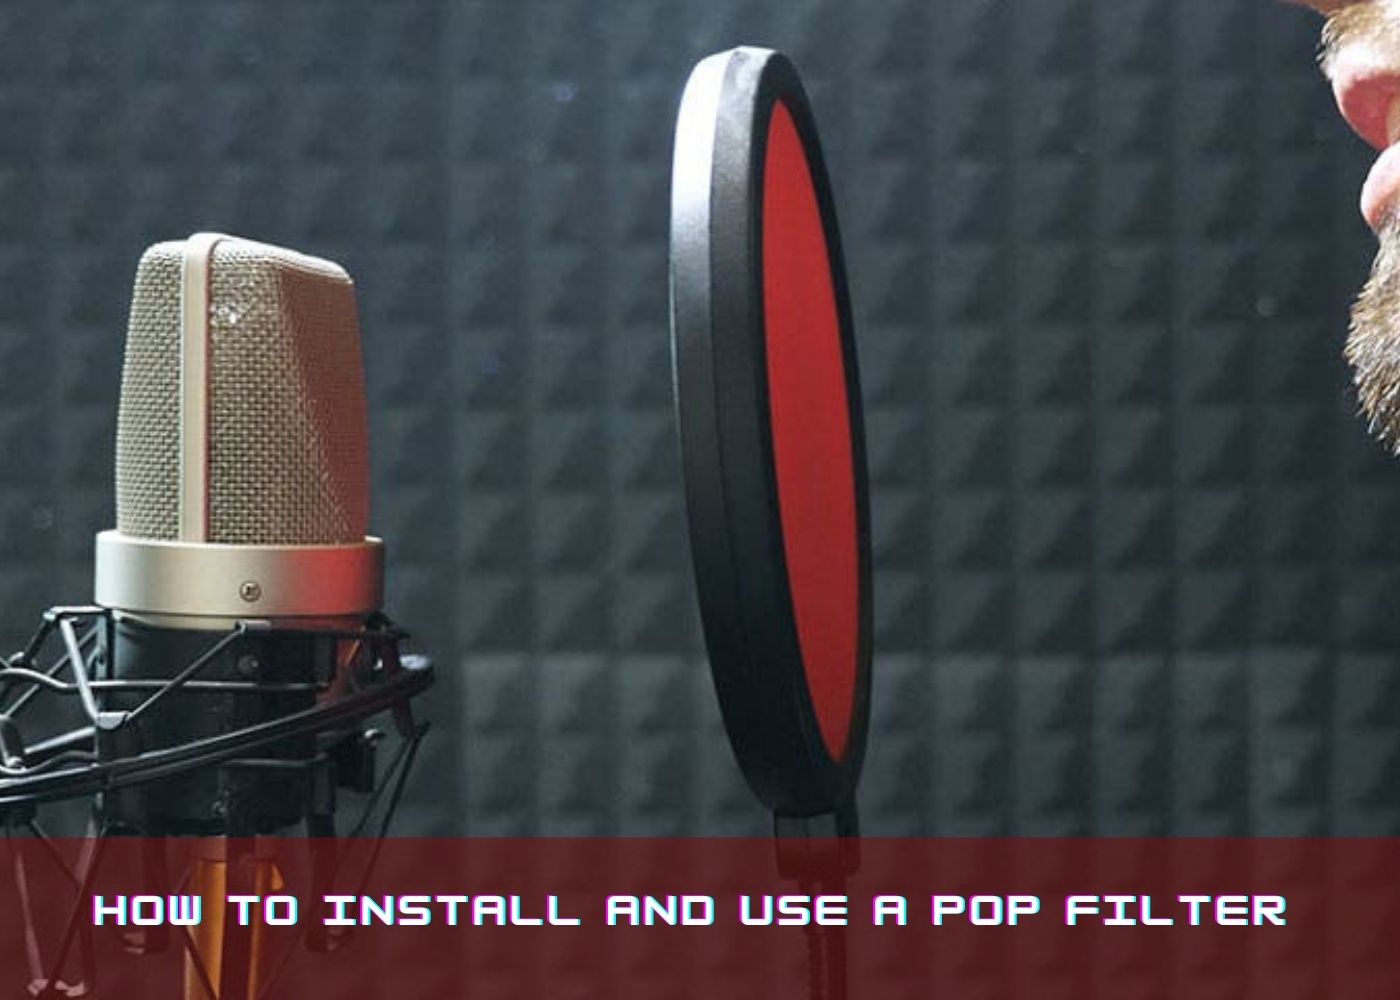
A pop filter, sometimes known as a pop screen or pop shield, is a piece of recording gear that suppresses popping sounds. When singing, podcasting, or doing voiceovers, pop filters can increase sound quality. Porous materials wrapped around a circular frame are commonly used to make pop filters.
What is the Function of a Pop Filter?
Plosive sounds created by harsher consonants such as P, B, T, D, K, and G are reduced or eliminated using pop filters, which improve recordings. A speaker makes plosive noises by blowing air into their microphone capsule. Plosive noises produce an unpleasant noise that rises above other vocal sounds due to the air pressure they generate. Sibilance, a hissing sound produced by air flowing through teeth during consonants such as S and Z, can also be reduced by using pop filters.
Pop filters can be divided into three categories.
1. Pop filters consisting of woven nylon-strung over a circular frame are the most prevalent form. Pop filters made of nylon mesh are both cheap and efficient. During recording sessions, this form of pop filter might help to attenuate high frequencies.
2. Metal mesh pop filters are another option. A metal screen is used for this type of pop filter. Metal pop filters are more expensive than nylon mesh pop filters, but they let a larger range of frequencies pass through while minimizing or eliminating plosive sounds.
3. Foam windscreens: Microphones are immediately covered by foam windscreens. Outdoor boom microphones and lavalier microphones that clip to a speaker's clothes benefit from foam windscreens. However, nylon and metal mesh pop filters, are more effective at minimizing plosive sounds than foam windscreens, which are frequently too close to the microphone to be helpful.
How to Put a Pop Filter in and Use One
Installing and using a pop filter in your home studio is easy with this guide.
1. Invest in a pop filter or make your own. Find out which pop filter is ideal for your home recording setup. Determine the sort of microphone you're using and its benefits. Dynamic microphones, for example, are better than condenser microphones at removing plosive noises naturally. Bend a wire coat hanger into a circular frame and cut pantyhose to fit tightly over the frame for a DIY version of a pop filter.
2. Connect your pop filter to your computer. The majority of pop filters come with a mounting clamp that you may use to secure them to your microphone stand. Make any necessary adjustments to your mic stand and secure it into place. Secure your pop filter to the arm of your microphone stand.
3. Your pop filter should be adjusted. The pop filter is usually connected to the mounting clamp via an adjustable gooseneck. Adjust the gooseneck so that the filter is a few inches in front of the microphone. Keep two to six inches between the microphone and the pop filter as a general guideline.
4. Take advantage of your pop filter. Maintain direct contact between your mouth and the microphone while singing or speaking. Place your mouth three to ten inches away from the pop filter, depending on the sound you want to record. The proximity effect is a phenomenon that causes you to record more low frequencies as you get closer to the microphone.
When purchasing a microphone, there are a few things to think about
1. Size of Pop Filter
Depending on the size of your microphone, the size will vary. You'll want a diameter that is appropriate for both your microphone and recording style. If you walk around a lot when recording, a larger diameter pop filter would be preferable for you.
2. Shape
On the market, you can find various shapes. Flat filets are less expensive, but they require speaking directly into the centre. Curved filters, on the other hand, give you additional flexibility and range while recording because they can be used from any angle.
3. Mounts
The filter's mount is another something to think about. A gooseneck mount is included with most pop filters and screws into the filter frame and clamp. Make sure the gooseneck neck is long enough to properly attach the filter in front of the microphone.
When making a pop filter choice, make sure to try out as many as possible to verify that it is the greatest fit for your voice and microphone.
A good pop filter will guarantee that the focus of your recordings is superb sound quality, with any undesirable noises filtered out and not picked up by your microphone. You can learn more about selecting the best microphone for your pop filter here.


