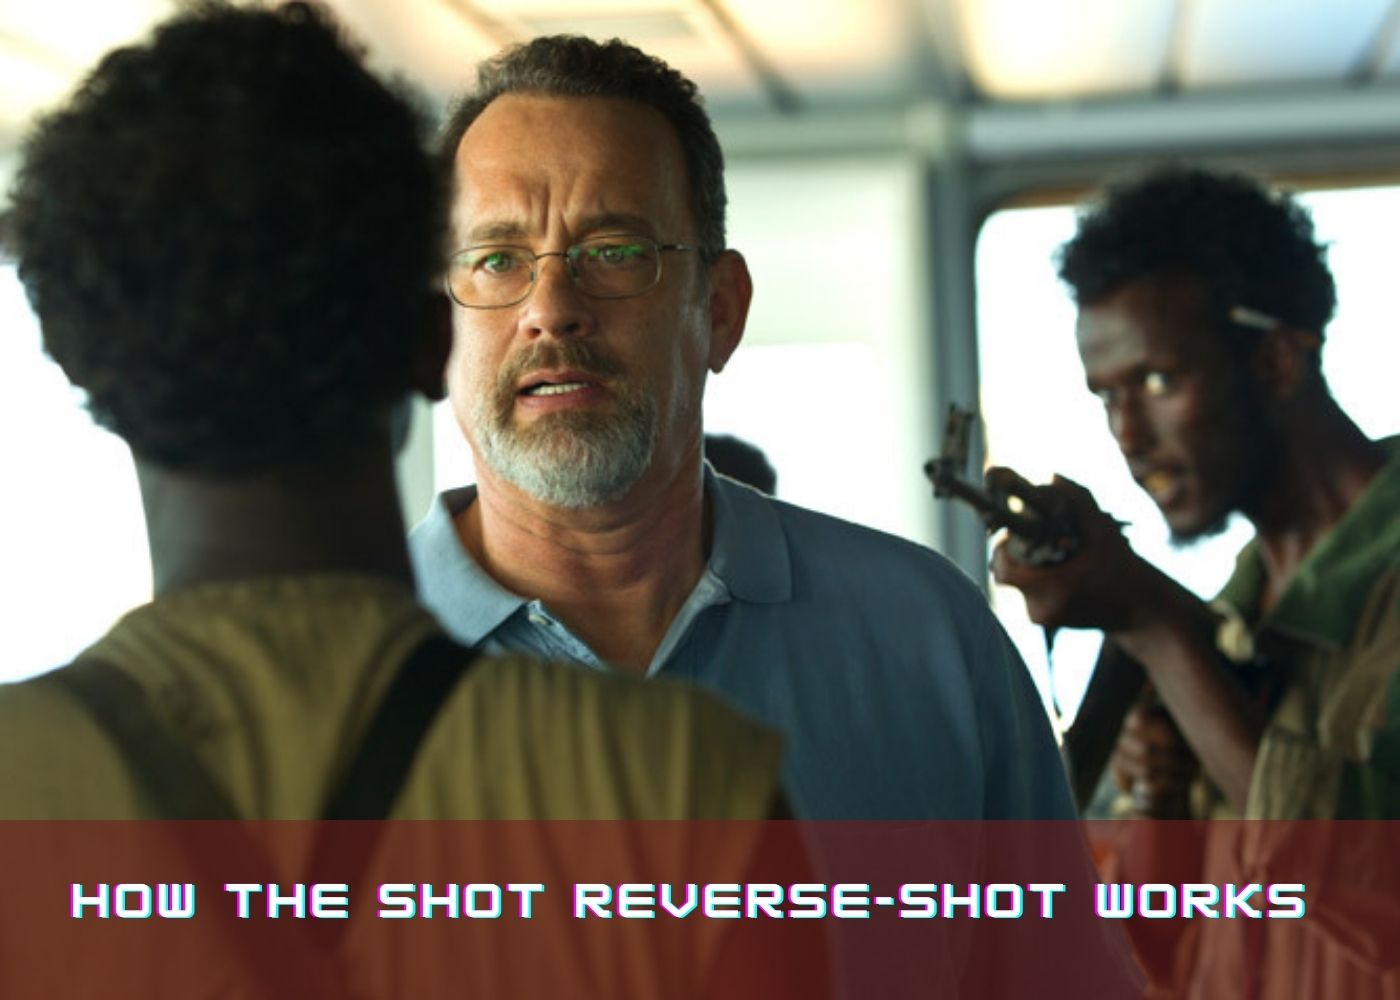
The shot/reverse-shot technique is a staple of cinematography and a traditional continuity editing technique. Toggling between two camera viewpoints allows filmmakers to create the illusion of continuous motion.
What is the difference between a shot and a reversal shot?
The shot/reverse shot is a film technique in which two people in the same scene are filmed from different camera angles. One camera setup in a shot/reverse shot (also known as a shot/counter shot) is a medium or close-up shot of a character engaging with someone else offscreen.
The action then switches to a reverse viewpoint, showing the offscreen character engaging with the first character—except this time, the first character is the offscreen one.
Many filmmakers switch back and forth between these two shots throughout the course of their work, especially when filming dialogue sections. A pair of one-shot angles essentially replaces a traditional two-shot angle. Without moving the camera, the director and cinematographer may display both characters' faces.
What is the meaning of a shot reverse-shot sequence?
A shot/reverse shot sequence creates continuity when used with fluid film editing. Even though the sequence was shot separately with various camera setups, it gives the impression that two actors are sharing the same location.
The shot/reverse shot sequence evokes the Kuleshov effect, in which a filmmaker gives more information by switching between an original shot (often referred to as a master shot) and many other pictures. The opening shot takes on a new significance with each cutaway to fresh images. However, the shot/reverse-shot technique is more tightly defined because the two shots reflect continuous action in a single scene, which is frequently used to depict a real-time conversation.
How to Make a Reverse Shot/How to Film a Shot
Innumerable films feature the shot/reverse-shot sequence. Follow a few simple steps to make your shot/reverse shot in your film.
You'll need at least two cameras when shooting a reverse shot. The cameras will be positioned on one side of the 180-degree line, each focused on a different performer. An over-the-shoulder shot is the most basic approach to frame this action.
1. Prepare for Your First Shot
Your initial shot should be established. This will be a single shot of a character conversing with someone who is not on screen.
2. For your second shot, create a reversal angle
Create a second shot that focuses on the character who was offscreen in the first. When setting up this shot, use a 180-degree rule. To set up the second shot, the camera should rotate 180 degrees around an axis.
3. Create an Eyeline Match
Make a match between your eyes. Both characters' eyelines must appear in the same section of the frame when shooting a shot/reverse shot sequence at eye level. If you start with a high-angle shot, you must counter with a low-angle shot and vice versa. To have a sense of continuity, the audience must be able to see an eyeline match in all circumstances.
4. Garnish Your Shots
Make your photographs more interesting by adding some flourishes. Shot/reverse-shot sequences can take a variety of shapes. For example, an over-the-shoulder shot (OTS) can be used to frame a view that includes a portion of the other character's torso. You can also change the size of your shot; the shot/reverse-shot technique works well with both wide views and close-ups. If you want to maintain consistency, take care to match shot sizes. If you filmed your first shot as a close-up, your second shot should be a close-up as well. When you combine two photos with differing frame widths, the feeling of continuity may be thrown off.
We hope you're getting something out of this. To keep up to date on intriguing stuff like this, follow Filmdistrict Dubai, a leading Production House in Dubai that specializes in Film Equipment Rental Dubai, Audio Visual Rental Dubai, Photo Booth Rental Dubai, and Camera Rental Dubai.


